Thursday, April 30, 2009
Flashback to the Eighties
Spoiler alert for Lisa!
Lisa's bridal shower is this weekend and for her shower, we are all tying our pony tails to the sides, pulling out our neon pink leggings, dancing to the Cure's "Just Like Heaven" and rockin' out to the era of the Care Bears and Madonna.
Lisa's bridal shower invitation was designed by one of our good design buddies, Sarah. Note the use the hot pink masking tape (that she found at Target) so carefully bound around the black envelope. We can also see Lisa's lovely nose ring embellished by a small rhinestone. The montage itself is deeply reminiscent of our childhood favorite, the original Hannah Montana, JEM. Oh you know who I'm talking about!
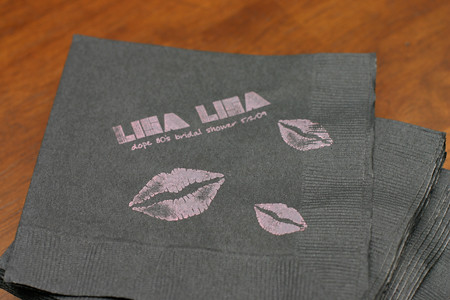
What fun project isn't complete without the use of our favorite medium, the gocco. I tried to gocco the hot pink onto the black napkin. At first, it was pretty bright, but when it dried up, it didn't seem to have much staying power. Any suggestions out there on how to improve? I had also tried using the cloth ink. Same result.
And of course, what is the eighties without some righteous pins. My husband bought me a professional button machine two Christmases ago and it is definitely one of my favorite crafting tools. Using Sarah's artwork, I've managed to plaster Lisa's face on about 15 of these 1" pins.
We are having an eighties costume contest, so I'm excited to see what all the ladies come up with. Anybody have a pair of leather hot pants I can borrow? :)
Lisa's bridal shower is this weekend and for her shower, we are all tying our pony tails to the sides, pulling out our neon pink leggings, dancing to the Cure's "Just Like Heaven" and rockin' out to the era of the Care Bears and Madonna.
Lisa's bridal shower invitation was designed by one of our good design buddies, Sarah. Note the use the hot pink masking tape (that she found at Target) so carefully bound around the black envelope. We can also see Lisa's lovely nose ring embellished by a small rhinestone. The montage itself is deeply reminiscent of our childhood favorite, the original Hannah Montana, JEM. Oh you know who I'm talking about!
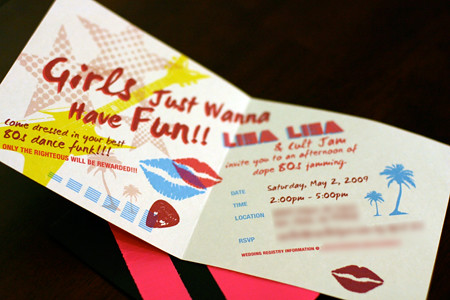
What fun project isn't complete without the use of our favorite medium, the gocco. I tried to gocco the hot pink onto the black napkin. At first, it was pretty bright, but when it dried up, it didn't seem to have much staying power. Any suggestions out there on how to improve? I had also tried using the cloth ink. Same result.
And of course, what is the eighties without some righteous pins. My husband bought me a professional button machine two Christmases ago and it is definitely one of my favorite crafting tools. Using Sarah's artwork, I've managed to plaster Lisa's face on about 15 of these 1" pins.
We are having an eighties costume contest, so I'm excited to see what all the ladies come up with. Anybody have a pair of leather hot pants I can borrow? :)
Labels:
bridal shower theme,
buttons,
design,
diy,
gocco,
invitation,
party
Wednesday, April 29, 2009
Lisa's Wedding Invite Unveiled!
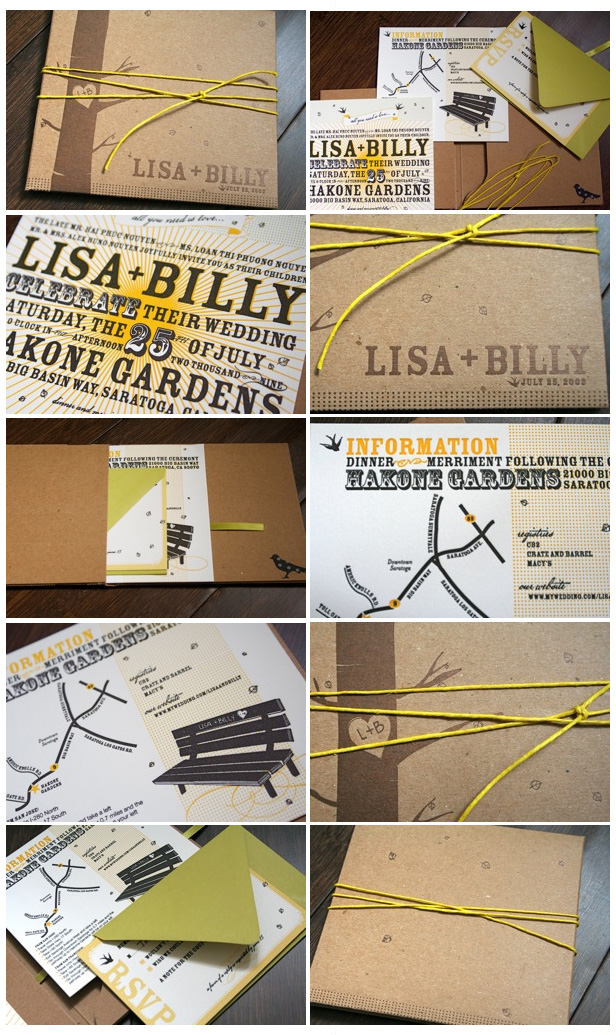
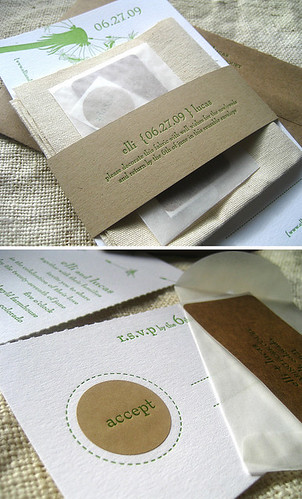
So, Lisa's wedding planner, Michelle, from bliss'd apparently has got it together more than we do :) She has already posted photos of the invites on her blog, so I will borrow them temporarily :) Thanks Michelle for the link love!!
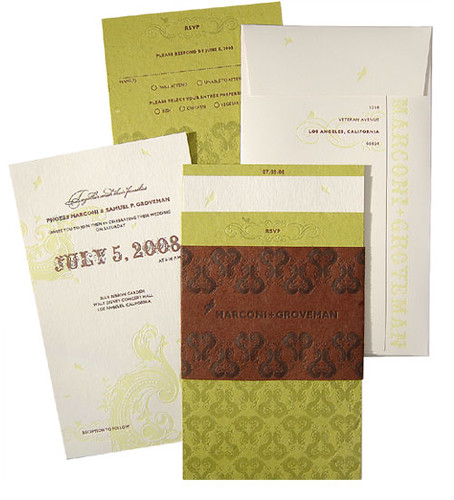
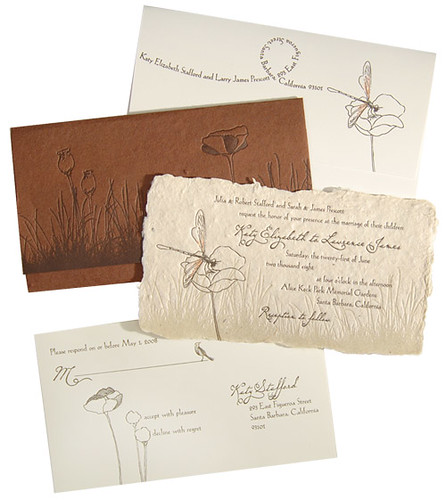
The specs:
kraft cover: brown metallic ink letterpressed 1 color tied together with yellow hemp wire
invitation: 3/0 letterpressed onto cranes letra line 80lb cover (cream)
info sheet: 2/0 letterpressed onto cranes letra line 80lb cover (cream)
rsvp card: inkjet on stratmore's 100% cotton paper on cover stock with a 4bar paper source envelope
props to lisa for assembling because i sure didn't do any of that :)
Labels:
graphic design,
letterpress,
paper,
wedding invitation
Tuesday, April 28, 2009
Lisa + Billy DIY CD case invitation
Here is the awaited post of how I put the cover of my invitations together.
Materials you need:
- CD Die cut. We got ours from Stumptown Printers
- glue gun
- Therm O Web Memory Tape
- Martha Stewart Sparrow Punch
- 1/4" ribbon. I used a double sided satin ribbon from Paper Source
- Black cardstock
- A rubberstamp. I used a polka dot one because it was apart of my wedding "theme".
- A bone folder that you can also find at Paper Source to help with the keeping the folds down on your cd case.
- Hemp twine. I purchased mine at at Hemp Basics
- A white pigment ink pad.
Top: 1, 2
Middle: 3, 4
Bottom: 5 and 6
(1)
I wanted to add color to the invite so I added a ribbon for my guest to pull on so that the suites of my invitation would come out of the pocket. This is optional. On the top flap half way and about 1 inch from the edge, I used a glue gun to keep my double satin ribbon in place.
(2)
Fold all edges on the cd case using a bone folder to help with the creases. Apply gun to the edges. Work on each side one at a time because the gun does dry pretty quick.
(3)
This is what it should look like when you are done with gluing down all the sides.
(4)
I had this beautiful empty canvas and wanted to add a little something to it so to tie in the bird and the polka dot theme, I stamped using a polka dot rubber stamp with white pigment ink pad on black cardstock. Make sure when you stamp on a large rubberstamp and even small ones to ink upside down. This will allow you to see what you are inking and to not over ink the ink pad.
(5)
I use the Martha Stewart Sparrow punch to punch out the card stock. To glue on the punched bird I used this amazing tape called Therm O WEb Memory Tape. It is amazing!!!
(6)
This is what the the finished product looks on the inside..
In order to keep the invite closed I used a yellow twine to tie it all up and Voila!
Labels:
birds,
diy,
Martha Stewart,
punch,
rubberstamp,
wedding invitation
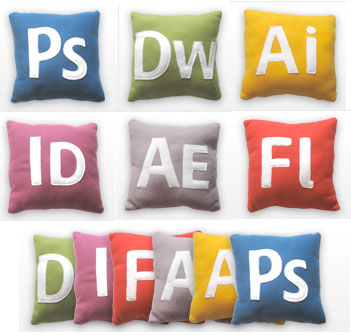
Creative Suite Pillows
Bookbinding
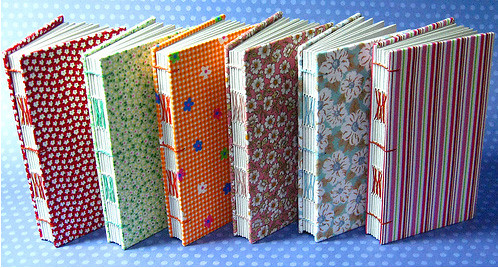
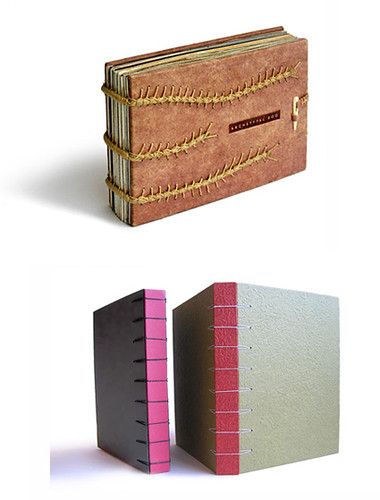
Amazing bookbinding from Zoopress studio's flickr page. It's all in another language, but the photos speak for themselves. Check out the intricate handiwork!
DIY Corsages and Brooches
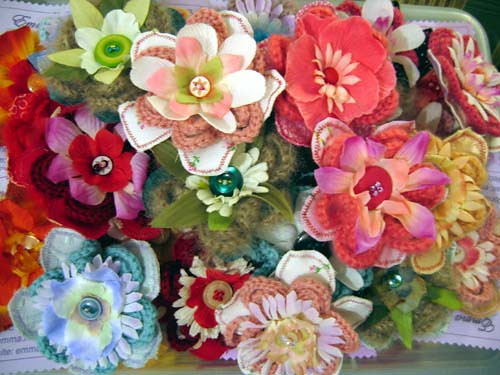
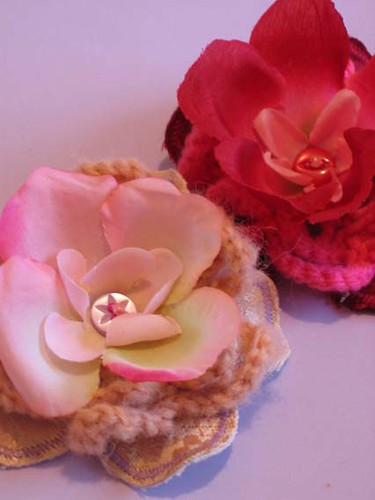
For the crafty DIY bride, do as Sew Recycled! did and reuse the extra craft material you have lying around and create something beautiful! She's using recycled and new vintage fabrics, yarn, buttons and beads.
Monday, April 27, 2009
Wooden iphone cases
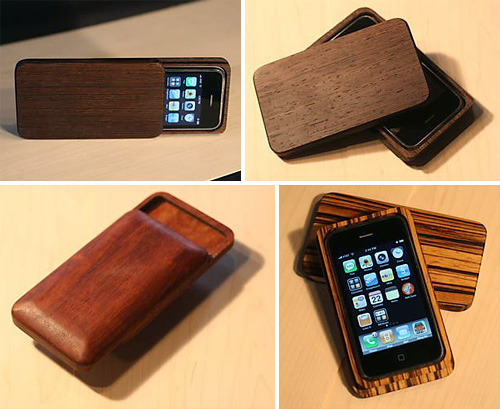
Just received a tweet from etsy for these beauties! Get them here!
I think the 4th one is zebra wood. Beautiful!
Fun Gifts from Fred Flare
Fredflare.com has some unique gifts and gadgets for any occasion. They are also offering Free shipping off $75 or more. I'm eyeing their holgas :)
1. Hostess Cupcake coin purse 2. LOMO clear action sampler 3. singing sparrow necklace 4. Blair mini bow earrings
Sunday, April 26, 2009
Friday, April 24, 2009
How I Miss the French Countryside
Birddog Press
I love the interaction of this invitation from birddog press, especially the RSVP accept stickers!
"canvas fabric for guests to create their own well wishes artwork and send back to the bride & groom for creation of a "prayer flag" banner to be hung at the wedding"
Labels:
cards,
design,
letterpress,
wedding,
wedding invitation
Thursday, April 23, 2009
Eco-Friendly Invitations from DeMilo Design
Eco-Friendly letterpress wedding invitations from DeMilo Design. I like the use of the kraft, wood inspired papers and cream colors.
Labels:
design,
eco-friendly,
letterpress,
wedding invitation
Wednesday, April 22, 2009
Tuesday, April 21, 2009
Preview of Lisa's Invitation
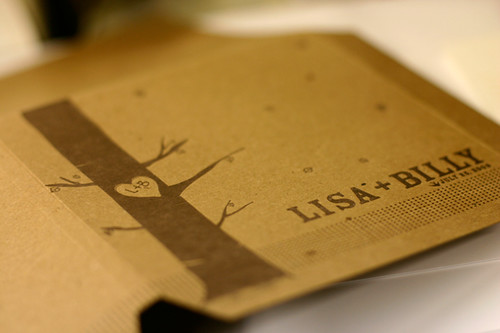
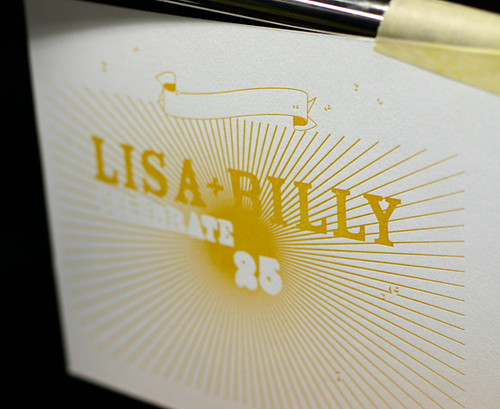
Lisa is finishing up putting together the last of her invitations! Yay! So I decided to give you lucky readers a quick preview of the cover. We had Jeronimo from Jeronimo's Lithocraft do the printing. Lisa did a good job of going to the press check for me while I was in Paris, and it came out nicely. We always tell him, "press it deeper!" This was definitely one of the more fun projects I've recently worked on, so thanks to Lisa and Billy for including me in on the fun!
We will be shooting the full suite this week hopefully, so stay tuned!
Labels:
design,
kraft,
letterpress,
paper,
wedding invitation
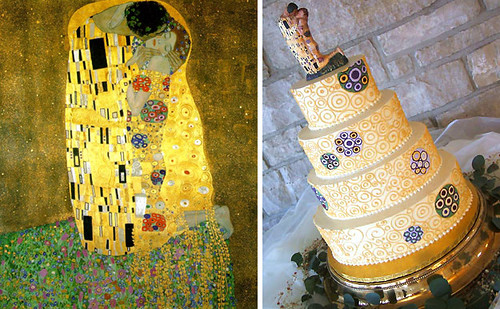
Art Inspired Wedding Cake
Sunday, April 19, 2009
Fun Finds in Montmarte
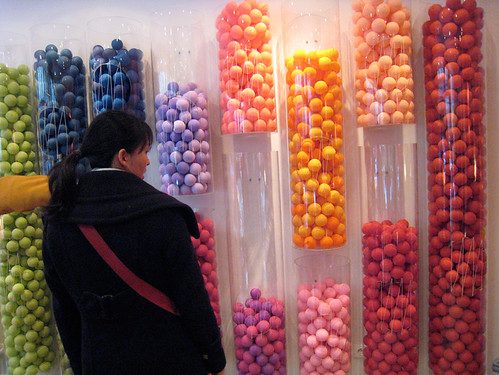
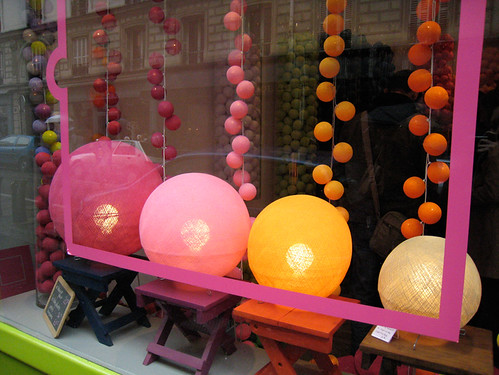
As we went fabric hunting in Montmarte in Paris, we came across a fun store where you can customize your own string of colorful lanterns called le case de cousin paul. They had so many different colors and I just love anything that's you get to pick and design yourself. I thought these might be cute for my friend's wedding since it will be outdoors in a garden. You can pick from different packages of 20, 50 or more which includes a set of lights.
Up next is a post from the original home of macaroons!
Labels:
color,
decoration,
hanging lanterns,
home decoration,
paris,
travel
Subscribe to:
Posts (Atom)