Tuesday, May 3, 2011
Bird Themed Baby Shower
Tuesday, July 7, 2009
DIY Rustic Wedding Cake Stand from OnceWed
Per The Storque's How to Tuesday on Etsy
- A Cross-Cut Wood Plaque (round or oval)
- A Cross-Section of a Tree Limb (Make sure the top and bottom are parallel)
- Titebond Ultimate Wood Glue (or a similar extra strong wood glue)
- A Large Wood Clamp
Instructions:
Cross-cut wood plaques can be found in your local craft store or online at Hofcraft. They come in a variety of sizes ranging from 5 inches to 12 inches in diameter. They are usually found in the section with the wood-burning kits and other wood crafts. They are clean, sanded and ready to use.
1. Take your tree limb section and wipe the cut surface clean. Put a generous amount of extra strong wood glue on the surface.
2. Place the limb section in the center of the wood plaque's back side and press down firmly. Wipe away any excess glue with a clean, damp cloth.
3. Place the two joined pieces in a wood clamp and let dry for at least one hour. If you don’t have a wood clamp, you can stack a few heavy books on top of your pedestal until it’s dry.
4. Use your pedestals to display cakes and desserts or use as a base for a centerpiece. If you want to place food directly on the wood surface, coat it first with a food-safe wood sealer. If you would like the wood to keep its natural color, place a piece of parchment paper beneath your cake or dessert.
Friday, June 19, 2009
Friday, June 12, 2009
Sunday, May 31, 2009
Recap of Makerfaire SF!
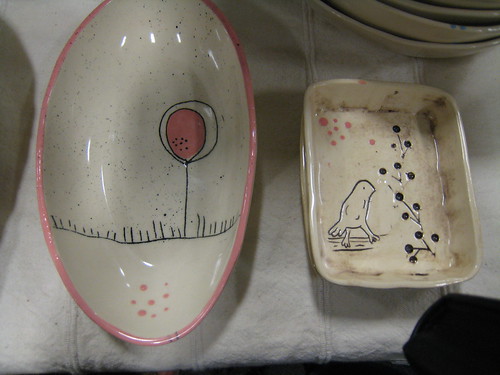
We saw a lot of cute handmade items and also had some tasty foods.
Something I picked up for my bathroom was this adorable silkscreened birdie on wood by tiny sparks design. The artist is a furniture maker who decided to change direction and try something new. We're definitely all for that when it produces amazing artwork!
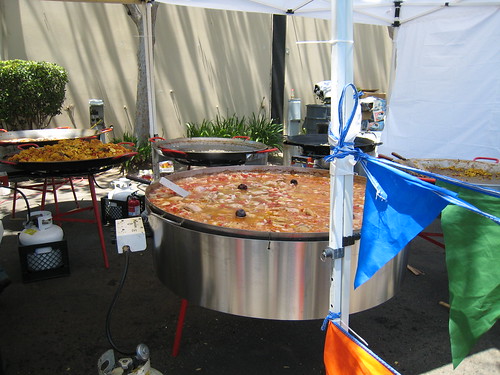
There was also good food of course. Check out the huge pots of paella cooking!
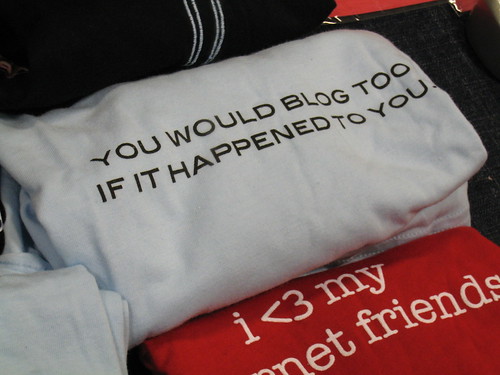
Definitely tons of fun, and to sum it all up:
Tuesday, May 19, 2009
Plant Labels from modern gardener
Tuesday, April 28, 2009
Lisa + Billy DIY CD case invitation
Materials you need:
- CD Die cut. We got ours from Stumptown Printers
- glue gun
- Therm O Web Memory Tape
- Martha Stewart Sparrow Punch
- 1/4" ribbon. I used a double sided satin ribbon from Paper Source
- Black cardstock
- A rubberstamp. I used a polka dot one because it was apart of my wedding "theme".
- A bone folder that you can also find at Paper Source to help with the keeping the folds down on your cd case.
- Hemp twine. I purchased mine at at Hemp Basics
- A white pigment ink pad.

Top: 1, 2
Middle: 3, 4
Bottom: 5 and 6
(1)
I wanted to add color to the invite so I added a ribbon for my guest to pull on so that the suites of my invitation would come out of the pocket. This is optional. On the top flap half way and about 1 inch from the edge, I used a glue gun to keep my double satin ribbon in place.
(2)
Fold all edges on the cd case using a bone folder to help with the creases. Apply gun to the edges. Work on each side one at a time because the gun does dry pretty quick.
(3)
This is what it should look like when you are done with gluing down all the sides.
(4)
I had this beautiful empty canvas and wanted to add a little something to it so to tie in the bird and the polka dot theme, I stamped using a polka dot rubber stamp with white pigment ink pad on black cardstock. Make sure when you stamp on a large rubberstamp and even small ones to ink upside down. This will allow you to see what you are inking and to not over ink the ink pad.
(5)
I use the Martha Stewart Sparrow punch to punch out the card stock. To glue on the punched bird I used this amazing tape called Therm O WEb Memory Tape. It is amazing!!!
(6)
This is what the the finished product looks on the inside..
In order to keep the invite closed I used a yellow twine to tie it all up and Voila!
Sunday, April 26, 2009
Friday, March 13, 2009
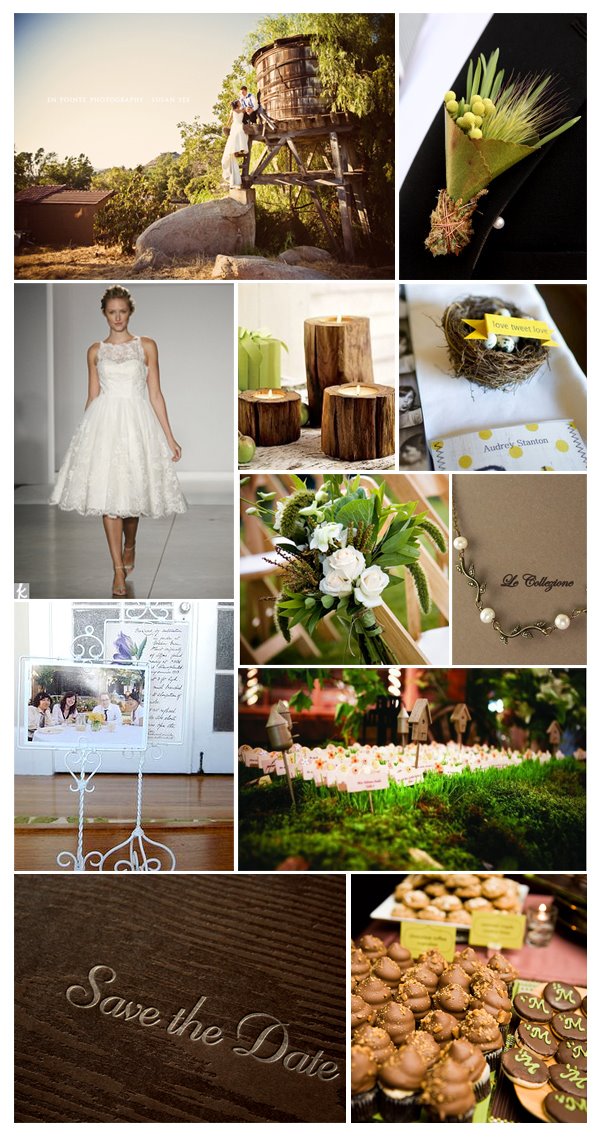
Inspiration Board - The Birds and the Trees
1. enpointe photography 2. boutonniere 3. vineyard collection wedding dress 4. wooden trunk candles 5. nest place setting 6. floral arrangement 7. leaf necklace by le collezione 8. photo frames 9. birdhouse name cards 10. letterpress wood save the date 11. chocolate goodies
The big question is, where do I shop!? Here are some links to where you can achieve this look.
Those darn birds (and nests). You may be able to find them at craft stores or nice furnishing boutiques, but usually at a high cost.
I found a site that sells craft items online and about 10 pages of all sorts of different little birdies! You can find these guys online at createforless.com for very reasonable prices.
Jolie Tip: The clearance birdies tend to be half off!
Nest and name cards with jordan almonds from beau-coup.com
Fun vintage decor from mothology.com
Beautiful vintage photo or table number holders, large and small chalkboards for signs and table numbers.

Tree stump accents for a centerpiece or just plain ol' tabletop decor from West Elm
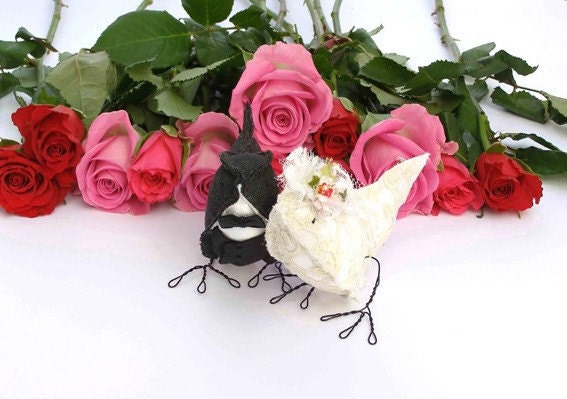
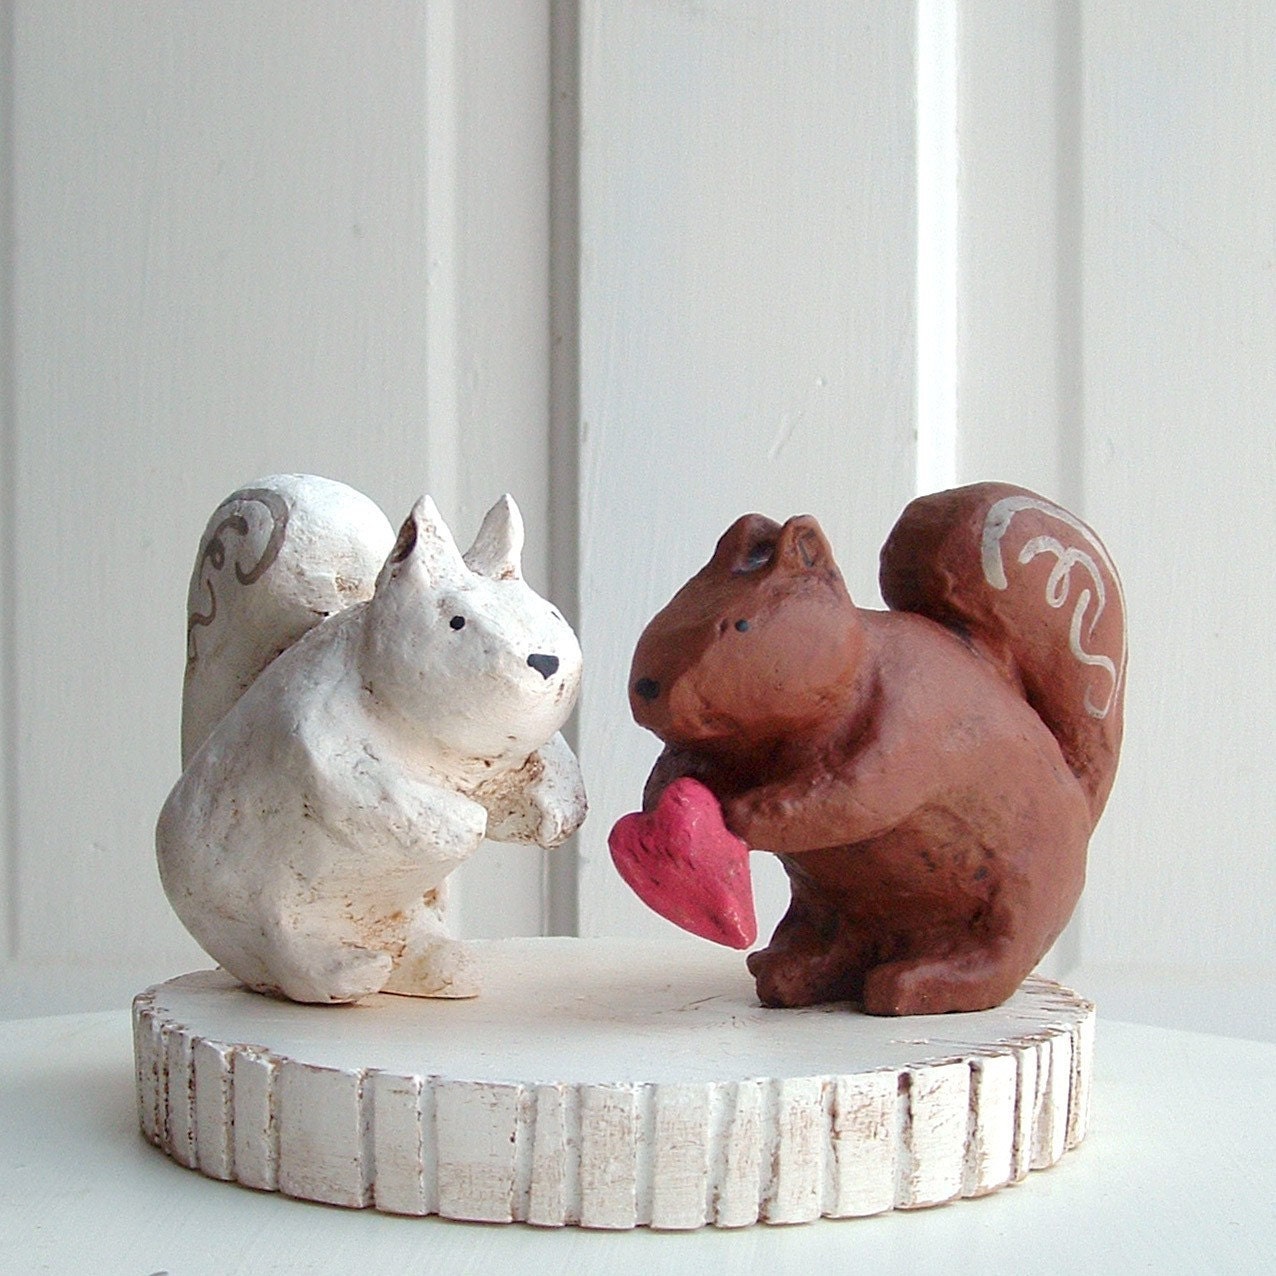
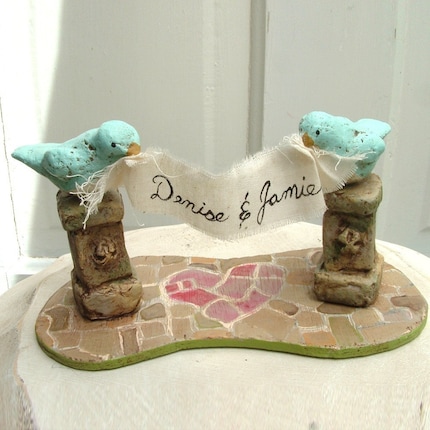
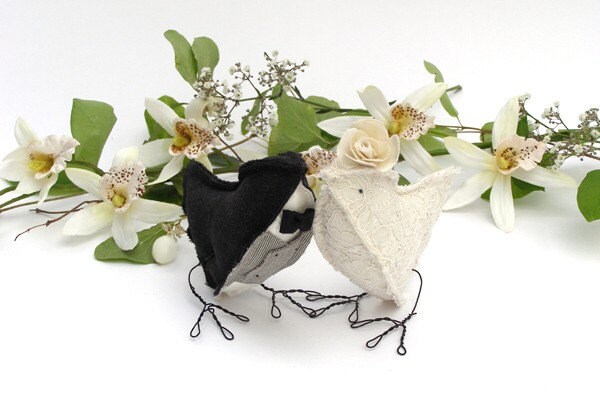
Bird cake toppers from cottonbirddesigns on etsy. The nice thing about etsy is there's a wide range of items and styles to shop from.
Branches & Moss from Save on Crafts. They have a wide variety of branches in all different shapes and sizes all for fairly reasonable prices. They also have patches of grass and moss.
Jolie Tip: For my own wedding, I had a party of 500 and couldn't afford to spend $12-50/branch. I browsed onto craigslist and happened to find someone who owned a tree farm and was selling manzanitas. He gave them to me for $3-$5/piece!! Also, a lot of pet stores sell branches for amphibians that could also work for the look you're trying to achieve.
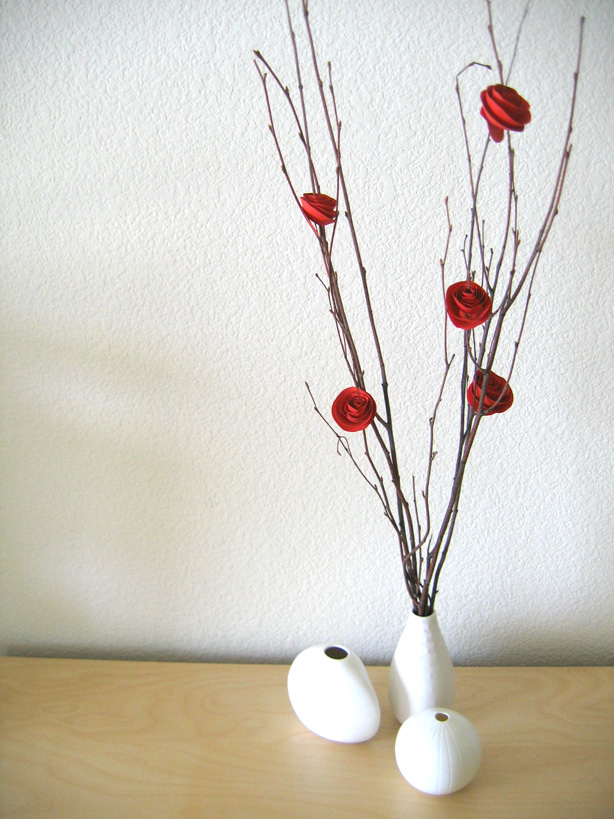
For you crafty diy folks, take your branches to another level with some inexpensive decor of paper flowers. Our lovely friend at dozi has an excellent tutorial for this!Tree topiary name cards from weddingstand.com